An egg incubator is an essential tool for hatching eggs artificially‚ providing controlled temperature‚ humidity‚ and turning to mimic natural incubation by a hen‚ ensuring successful hatching․
Understanding the Basics
An egg incubator is a device designed to replicate the natural conditions required for egg hatching․ It maintains consistent temperature‚ humidity‚ and turning cycles‚ essential for embryonic development․ Typically‚ incubators are set to 37․7–37․9°C and 50–60% humidity for chicken eggs․ Automated models handle egg turning‚ while manual ones require daily adjustments․ Proper setup ensures optimal conditions for successful hatching․
Why Use an Egg Incubator?
An egg incubator provides a controlled environment for hatching eggs‚ ensuring consistent temperature‚ humidity‚ and turning․ It increases hatch rates and is ideal for those without broody hens․ Incubators are versatile‚ suitable for various egg types‚ and allow users to manage multiple eggs efficiently․ They are a reliable tool for poultry keepers‚ enabling successful hatching and expanding flocks․ Modern designs‚ including solar options‚ offer sustainable and efficient solutions․
Preparing the Eggs
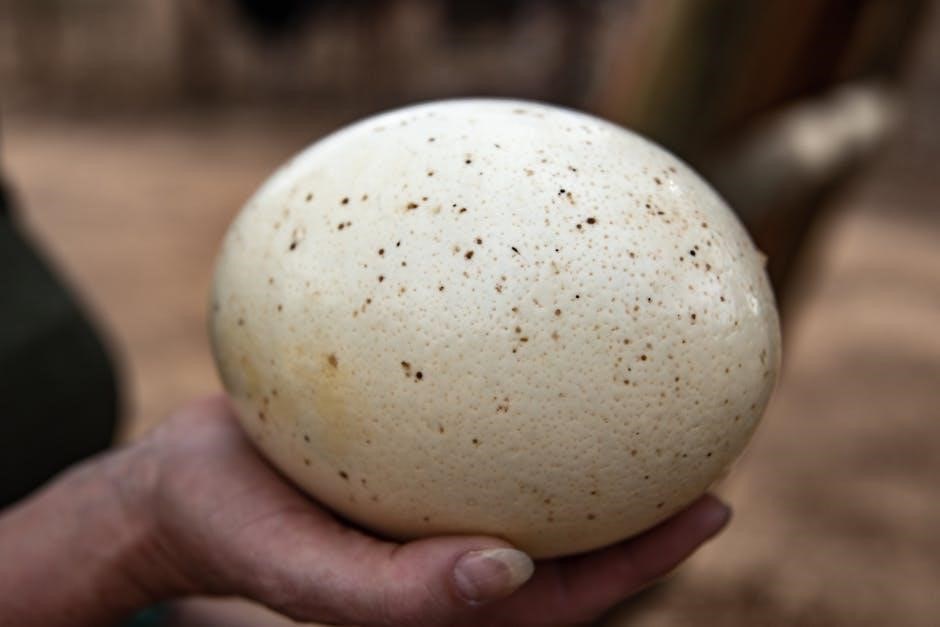
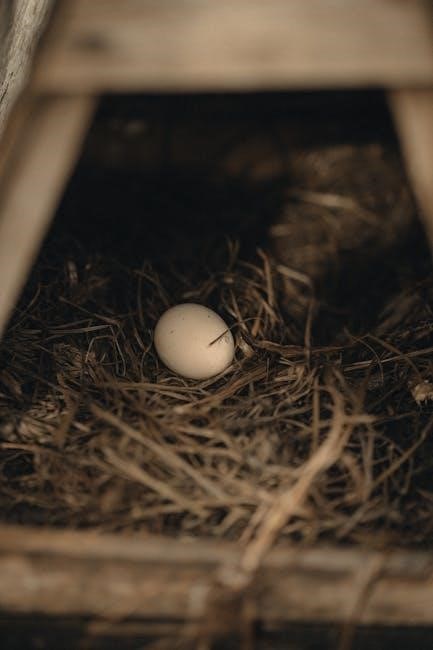
Before incubation‚ wash hands thoroughly and warm fertile eggs to room temperature․ Mark eggs for identification and ensure they are clean and free from cracks or damage․
Washing Hands and Warming Eggs
Wash hands thoroughly with soap and water before handling eggs to prevent contamination․ Gently warm fertile eggs to room temperature to avoid sudden temperature shocks․ This step ensures the eggs are clean and ready for incubation‚ promoting a healthy environment for embryonic development and improving hatch rates․
Marking Eggs for Identification
Mark eggs with a non-toxic marker to track incubation progress․ Note the date‚ breed‚ or source for easy identification․ Place marks on the large end for visibility during candling; Use abbreviations or codes for brevity‚ and keep a reference list to decode later․ This system ensures clarity and organization throughout the incubation process․
Setting Up the Incubator
Place the incubator on a stable‚ level surface and ensure proper power connection․ Follow the manufacturer’s guide for initial setup and configurations before adding eggs․
Placement and Power Connection
Position the incubator on a stable‚ level surface to ensure even temperature distribution․ Plug it into a reliable power source‚ avoiding extension cords․ Ensure the area is draft-free to maintain consistent conditions․ Keep it away from direct sunlight and moisture to prevent electrical hazards and optimal performance during incubation․
Setting Initial Temperature and Humidity
Set the incubator to 37․7°C (99․5°F) for temperature and 60% relative humidity for chicken eggs․ Adjust these settings based on the type of eggs being incubated․ Use the control panel to ensure accuracy and consistency․ Allow the incubator to stabilize for 24 hours before adding eggs to create a stable environment for successful hatching․
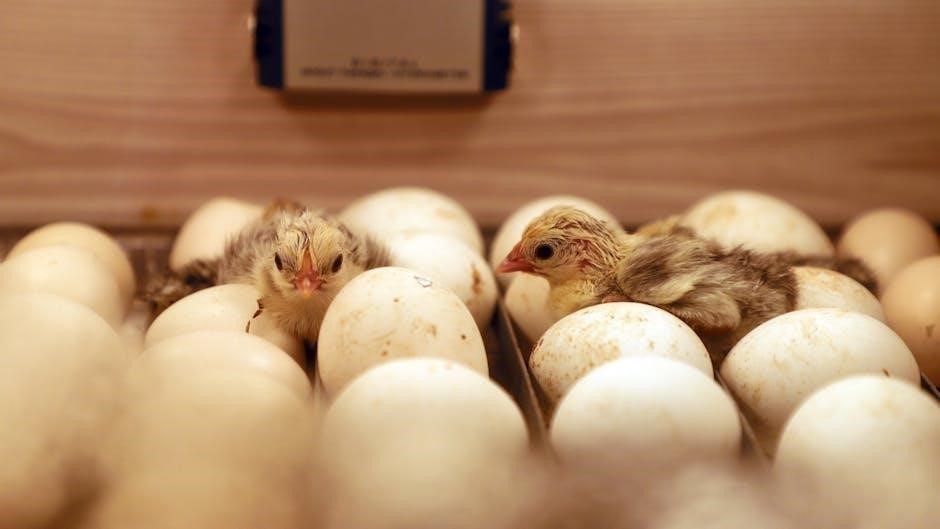
Placing Eggs in the Incubator
Gently place eggs in the incubator‚ larger end up‚ ensuring proper alignment․ This step ensures even heat distribution and supports healthy embryo development during incubation․
Correct Positioning of Eggs
Position eggs with the larger end facing up to mimic natural incubation․ Ensure they are aligned properly in the tray to prevent overcrowding and promote even heat distribution․ This orientation helps maintain the embryo’s correct position‚ reducing the risk of developmental issues․ Gently handle eggs to avoid damage‚ as rough movement can harm the developing chick․ Correct positioning is crucial for successful hatching and healthy chick development․
Arranging Eggs in the Tray
Place eggs in the incubator tray with the larger end facing up‚ ensuring they are evenly spaced․ Avoid overcrowding to allow proper airflow and heat distribution․ Leave about 1 inch of space between each egg for optimal conditions․ Gently position each egg to prevent cracking or damage․ Ensure the incubator is preheated to the correct temperature before adding the eggs for stable incubation conditions․
Operating the Incubator
Set the incubator to the recommended temperature and humidity levels‚ ensuring proper airflow and consistent conditions for successful egg incubation and hatching․
Daily Checks and Adjustments
Regularly monitor the incubator’s temperature and humidity levels‚ ensuring they remain within the ideal range for the eggs․ Check the water reservoir and refill as needed to maintain proper humidity․ Verify that eggs are turning correctly‚ either manually or automatically‚ and adjust settings if necessary․ Ensure airflow is consistent and make any required changes to maintain optimal conditions for incubation․ Daily checks help prevent issues and improve hatch rates․
Monitoring the Incubator’s Function
Regularly inspect the incubator’s temperature‚ humidity‚ and turning mechanisms to ensure optimal operation․ Check for any alarms or indicators that signal deviations from set parameters․ Verify that all electrical connections are secure and functioning properly․ Monitor the water reservoir to maintain adequate humidity levels․ Consistent monitoring helps identify and address potential issues promptly‚ ensuring a stable environment for successful egg incubation and hatching․

Turning the Eggs
Turning eggs is crucial for even embryo development․ Manual turning requires rotating eggs 2-3 times daily‚ while automatic incubators handle this process‚ ensuring consistent movement and proper growth․
Manual vs․ Automatic Turning
Manual turning involves physically rotating eggs 2-3 times daily‚ ensuring even embryo development․ Automatic turning‚ handled by the incubator‚ eliminates manual effort‚ reducing human error and increasing convenience for consistent results․
Frequency and Importance of Turning
Eggs should be turned at least 2-3 times daily‚ ideally 4-5 times‚ to prevent the embryo from sticking to the shell․ Regular turning ensures even heat distribution and promotes healthy development‚ significantly increasing hatch rates and reducing risks of deformities․
Monitoring the Incubation Process
Monitoring the incubation process ensures proper development‚ allowing timely adjustments․ Regular candling checks embryo growth‚ while tracking temperature and humidity helps maintain optimal conditions for successful hatching․
Candling Eggs for Development

Candling involves shining a bright light through the egg to observe embryo development․ Typically done on days 7-10 and weekly thereafter‚ it helps identify viable eggs‚ detect cracks‚ and monitor growth․ This method ensures non-invasive assessment‚ allowing breeders to remove non-developing eggs and optimize hatching success․ Proper candling techniques are crucial for accurate evaluation without causing harm to the developing embryos․
Tracking Progress and Adjustments
Regularly monitor the incubation process to ensure optimal conditions for development․ Track temperature‚ humidity‚ and embryo growth through candling․ Adjust settings as needed to maintain stability‚ addressing any deviations promptly․ This careful monitoring helps identify potential issues early‚ ensuring healthy development and maximizing hatch rates․ Consistent oversight is key to achieving successful incubation outcomes․
Maintaining Temperature and Humidity
Maintain consistent temperature (37․5°C–37․9°C) and humidity (45%–50%) for optimal egg development․ Adjust settings as needed to ensure stable conditions‚ crucial for healthy embryo growth and hatch rates․
Ideal Levels for Different Eggs
Different egg species require specific temperature and humidity levels․ Chicken eggs thrive at 37․5°C–37․9°C and 45%–50% humidity․ Waterfowl eggs may need slightly higher humidity‚ around 55%–60%․ Adjust settings based on egg type and development stage to ensure optimal conditions for healthy growth and successful hatching․ Always refer to the incubator’s guidelines for precise settings tailored to your eggs․
Adjusting Settings as Needed
Monitor and adjust the incubator’s temperature and humidity regularly to maintain optimal conditions․ Use the control panel or buttons to fine-tune settings‚ ensuring they align with the specific needs of your eggs․ Adjustments may vary depending on the egg type and incubation stage․ Always refer to the incubator’s guidelines for precise settings to ensure healthy development and successful hatching․
The Hatching Process
The hatching process typically begins after 21 days of incubation for chicken eggs․ Chicks start breaking through the shell‚ a process that can take up to 24 hours․
Signs of Hatching
Signs of hatching include visible movement within the egg‚ peeping sounds from the chick‚ and small cracks forming in the shell․ The chick may take up to 24 hours to fully emerge‚ breaking through the shell gradually․ During this time‚ it’s crucial to maintain stable incubator conditions and avoid interference‚ allowing the chick to complete the hatching process naturally․
Duration and Expectations
Chicken eggs typically hatch after 21 days of incubation․ The actual emergence from the shell usually takes 5-7 hours but can extend up to 24 hours․ During this critical period‚ maintaining stable temperature and humidity levels is essential․ Expect peeping sounds and visible movement as the chick breaks free․ Avoid opening the incubator excessively to ensure a successful hatch․
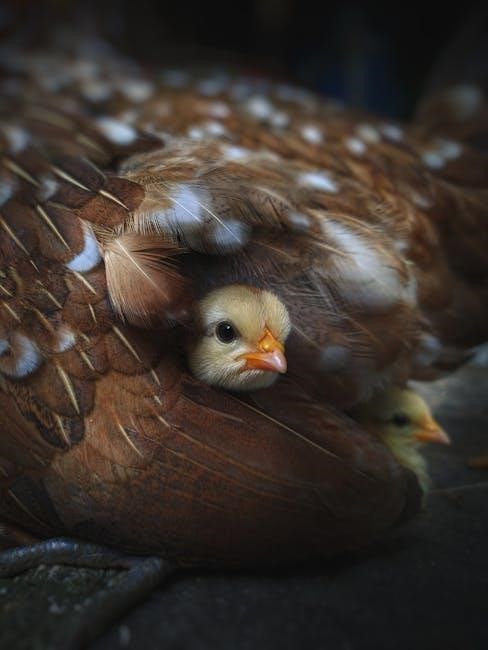
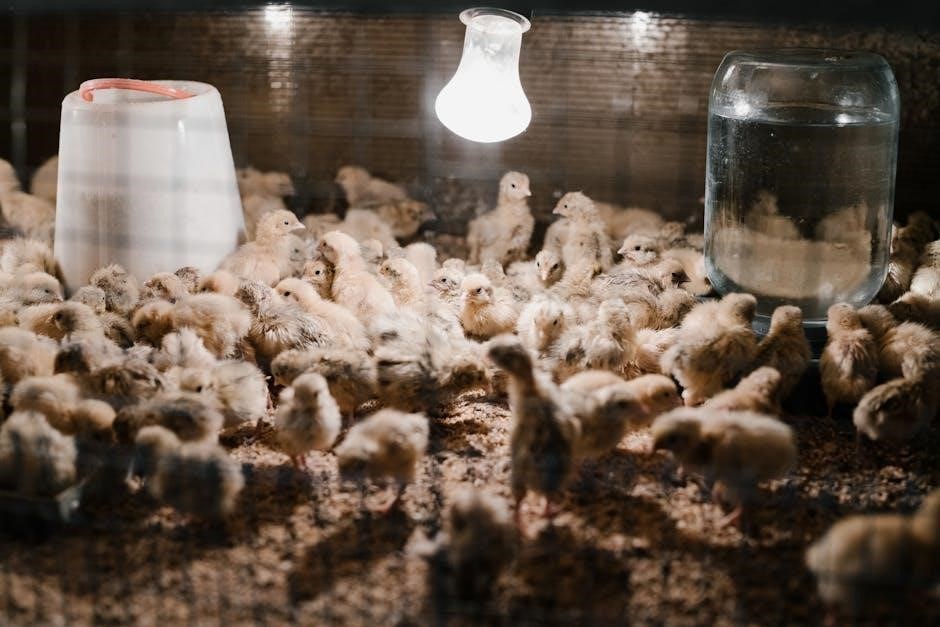
Post-Hatch Care
After hatching‚ gently remove chicks and clean the incubator․ Ensure chicks are warm‚ dry‚ and hydrated․ Monitor health and provide a safe environment for growth and development․
Removing Chicks and Cleaning
After hatching‚ gently remove chicks from the incubator‚ ensuring they are dry and active․ Handle eggs carefully to avoid damage․ Discard broken shells and clean the incubator thoroughly with mild detergent and water․ Rinse and dry all parts before reuse․ This ensures a sanitary environment for future hatching and prevents bacterial growth‚ which is crucial for maintaining healthy conditions․
Ensuring Chick Health
After hatching‚ monitor chicks for signs of health‚ such as alertness and steady movement․ Provide a warm‚ safe environment with adequate ventilation․ Ensure access to clean water and starter feed․ Observe for any signs of illness or stress and seek veterinary advice if necessary․ Proper care in the initial stages is crucial for their growth and survival‚ ensuring robust and healthy chicks;
Troubleshooting Common Issues
Address temperature fluctuations‚ poor hatch rates‚ or mechanical failures by checking settings‚ power supply‚ and egg viability․ Adjust as needed to maintain optimal conditions for successful incubation․
Addressing Temperature Fluctuations
Check the incubator’s temperature settings and ensure the thermometer is accurately placed․ Sudden drops or rises can harm eggs․ Adjust the thermostat if fluctuations occur․ Verify power supply stability and avoid drafts․ If issues persist‚ consult the user manual or contact support․ Consistent temperature is crucial for embryo development and successful hatching․
Improving Hatch Rates
To enhance hatch rates‚ ensure consistent temperature (37․7-38․5°C for chicken eggs) and humidity levels (45-55% initially‚ rising to 65-70% before hatching)․ Regularly turn eggs‚ either manually or via an automatic turner‚ and maintain cleanliness․ Avoid sudden environmental changes and monitor incubator function daily․ Proper candling and tracking development can also help identify issues early‚ maximizing the chances of successful hatching․
Safety Precautions and Maintenance
Ensure electrical safety by disconnecting power during cleaning and keeping parts dry․ Regularly inspect and clean the incubator‚ following the user manual for specific maintenance guidelines․
Electrical Safety Measures
Always disconnect the incubator from power during cleaning or maintenance․ Ensure all electrical components remain dry to prevent shocks․ Keep children away from the appliance‚ as they should not play with it․ Avoid using damaged cords or plugs‚ and ensure the incubator is placed on a stable‚ dry surface․ Never submerge electrical parts in water or expose them to moisture․
Cleaning and Maintaining the Incubator
Regularly clean the incubator after each use by removing leftover eggshells and debris․ Use mild detergent and warm water to sanitize all surfaces․ Ensure the water reservoir is emptied and refilled as needed to maintain proper humidity․ Dry the incubator thoroughly to prevent mold growth․ Always unplug the device before cleaning to ensure safety and avoid electrical hazards during maintenance․